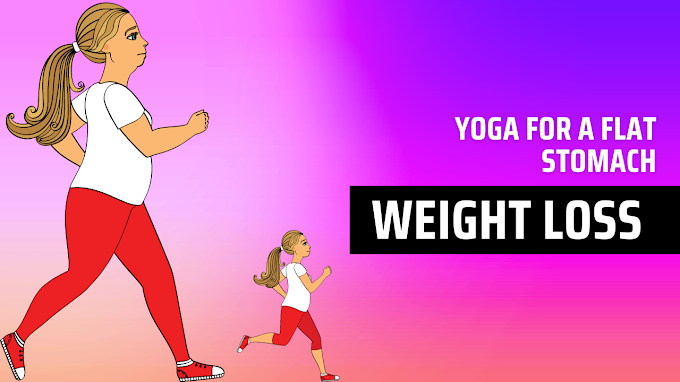
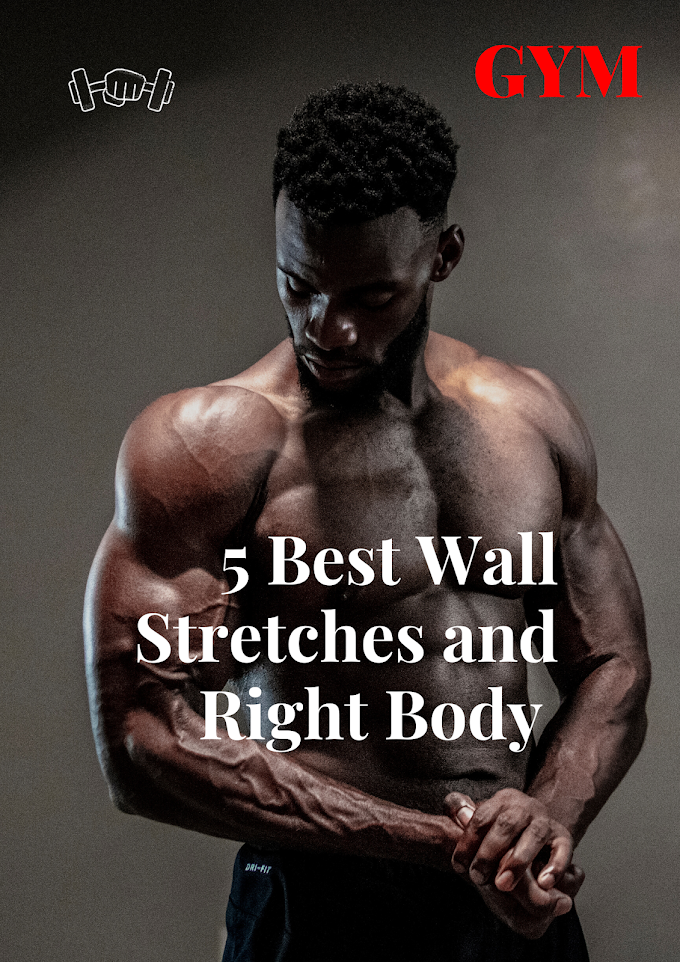
Let's Know About 5 Best Wall Stretches and Right Body.
Our body goes through a lot of changes, in any case because of our age, because of different seasons, because of the food we eat, because of the way we spend our days. Sometimes the joints become very stiff, the muscles become very stiff. So there are some parts that I want to show you today on the wall. To help your joints, upper joints, middle joints, extreme joints and to make sure that you get a little comfortable and then you get ready for further asanas which you can do very easily.

Pose 1
The first one in wall asanas is 1 Body Alignment Pose Most of the time our spine is never in alignment. We are busy doing something, we are busy reading something on the computer, most of the time we bend and spread our arms away from the body Line . This simple exercise will align your body in a straight line and correct your body misalignments. So how to do this body alignment pose? Let's see . Stand straight with your back against the wall. Try to keep your heels, buttocks, shoulders and head close to the wall. Taking a full breath, slowly raise your palms up and touch your palms to the wall so that your entire body is practically along the wall. Remain in this position for a few seconds or a minute as per your convenience. But it's a beautiful exercise. Check that your body alignment is correct. There is a variation that you can practice to get a better effect. The position of your hand is different here. Slowly move your hands to the T position. This T position is an excellent asana to correct your posture defects.
Pose 2
The 2 side stretch is an excellent wall stretch. To make your Konasana and Trikonasana perfect. This can give you an intense lateral stretch. Let's see how to do this. Stand straight here also.Your heels, your buttocks, your shoulders and your head should touch the wall. Raise your right hand along the wall and lean as far as you can to the left. While you are raising your arms up, touching the ears, raising the upper hand and bending towards the side, you are taking a deep breath, then you should stay there for some time for 6 to 10 seconds and then release your Should come back to normal. While doing this. Make sure that your body does not lose contact with the wall. Exhale slowly while coming back to the starting position, repeat the same process on the other side. Generally I have seen that when we do side bend, our upper body bends backward or forward, our hips also bend, so we should take support of the wall and do this asana in a perfect manner. . You will feel a nice intense stretch on your side muscles.
Pose 3
3 Chair Pose This is a pose that strengthens the muscles of your thighs and legs, it can improve your Utkatasana. Stand at a distance of one or one and a half feet from the wall. Keep the distance of both the feet around one foot, both should be parallel to each other and now try to bend your body back to touch the wall. Your head, your shoulders and your entire body should touch the wall. Slowly and gradually slide down until your thighs are parallel to the ground. It's like a chair position. When you start doing this asana, first inhale and then bend downwards while exhaling. Stay in this position for 4 to 6 seconds and gradually you can increase the time as you feel comfortable and then get up while breathing. Come back to normal position. Here you will feel intense pressure on your thighs, but let me tell you one thing, people who have knee pain, knee problems should avoid this. Generally, I have seen that while doing this asana, people bend forward and then there is a lot of pressure on the knees. Bad, and it increases your knee problems. Therefore, to do this asana, you will have to sit with your back straight. When you practice this, your knee arthritis condition will also improve. There is variation in this posture also. If Try this only if you are very comfortable. In this position, you can lift one of your legs straight parallel to the ground, keep the straight leg parallel to the ground, and remain in this position for some time, so that the weight of your body remains on one leg.
Pose 4
Feet up. If you are comfortable then you can do this also. This will be an even more intense stretch to your thighs. But understand that this is an excellent pose for exercising your thighs and core muscles. Do this from both sides. The fourth poster is the Runner's Lunge, which is an excellent exercise for stretching your thighs and loosening your hip muscles. There are two ways you can do this. Simply look at the model, place one foot along the wall and turn the other foot 90 degrees. Place both hands on the ground, keep pushing the feet and legs on the ground. Here you will feel a good stretch in your entire leg. Hold here for a few seconds and repeat on the other side. People with knee problems should avoid it completely. In this posture, since you are on your knees and the knee is touching the floor, sometimes the pressure on the knee is very high. You take a soft pillow and do this by placing it under your knee. Do not do this on hard ground, it will cause harm to you. Choose the advanced version if you are comfortable with it. Here release both your hands and lift your upper body backwards. Stay in this position for a few seconds. Repeat on the other side .
Pose 5
The fifth stretch is Pigeon Pose Pigeon Pose is an excellent pose for opening up your lower back and stretching the back of your thighs. You can do this in 2 steps. Lie on your back, get very close to the wall and place your feet as high on the wall as possible. Stay in that position for a minute or two, and relax in this position. This is a very relaxing posture, which can make your feet very light, all the stress and tension will go away, if you have knee pain, your feet will become very light. Ankle swelling also goes away, if you have swelling in your foot it will get worse. Therefore, remain in this position for some more time. Move your toes in and out, but hold for at least 2 minutes. In this pose you will get a passive stretch on your hamstrings and calf muscles which will relieve tension and stress in that area. 6 This asana is called Uttanapadasana, it reverses the blood circulation in your legs.
This is also a very good asana for your heart. It can prevent varicose vein conditions. Another variation of this asana: Here you usually lie down with both legs raised, place your right foot on top of the left thigh and drag the left foot along the wall. Try to keep your lower back close to the ground. You will also feel a sense of openness in your lower back and legs. Repeat the same on the other side also. All these details make it amazing. Your body gets really relaxed and stretches very easily from top to bottom. Your spine becomes properly aligned. The muscles of your body become toned. The thighs, hamstring core and calf muscles all get stretched. The combination of all these exercises improves blood circulation throughout the body. Regular practice of this asana can improve your asana practice. This can really speed up your progress. Keep practicing all these things. And enjoy your stretch.